The email platform allows site admins/owners to upgrade individual mailboxes to a specific plan (Sync or Collaborate) to better accommodate particular needs of the individual user.
Email Plans Key Features
| Sync | Collaborate | |
| Web-based Access Calendar/Contacts Unified Inbox POP/IMAP Support Storage per Mailbox-2GB |
Mobile Sync Social Media Integration Tasks Synchronization Across Devices Storage per Mailbox-5GB |
Shared Contacts & Calendars Shared Tasks ActiveSync Files Online File Storage & Collaboration Document Version Control Storage per Mailbox-10GB |
This article contains the following sections:
- Upgrade mailbox plan via SiteControl
- Grant access to individual email users to upgrade their mailbox plan via Webmail
- Upgrade mailbox plan via Webmail as individual email user
Upgrade mailbox plan via SiteControl:
1. Log into SiteControl with your username and password (click for instructions)
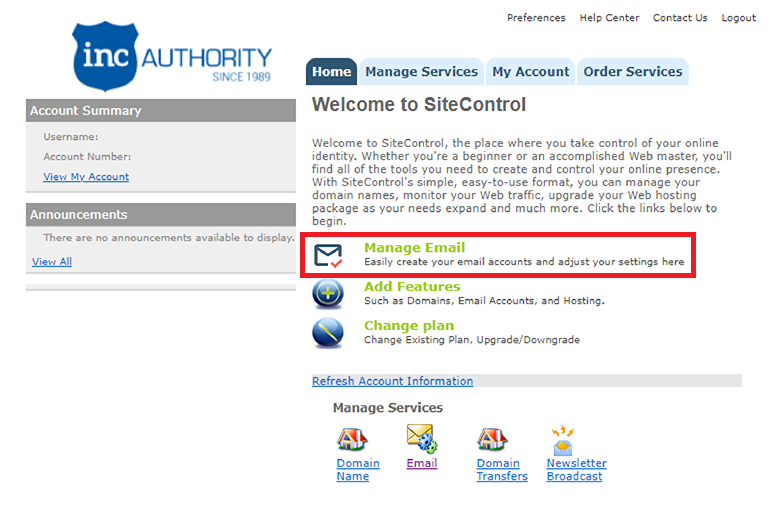
2. Click the Manage Email link available on the home page.

3. Select the proper domain name from the Currently Managing drop-down menu.
4. From the Email Addresses list, locate the mailbox you wish to upgrade and click on Edit.
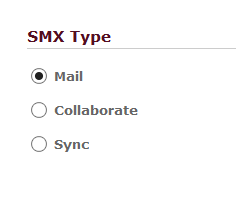
5. Locate the SMX Type section.

6. Select the type you wish to upgrade to (Mail, Sync or Collaborate) and click on Apply Changes.
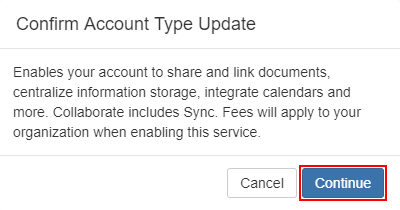
7. A confirmation box would appear for you to approve the changes.
Grant access to individual email users to upgrade their mailbox plan via Webmail:
1. Log into SiteControl with your username and password (click for instructions)
2. Click the Manage Email link available on the home page.

3. Select the proper domain name from the Currently Managing drop-down menu.
4. From the Email Addresses list, locate the mailbox you wish to allow the upgrades for and click on the right side button under Allow Upgrade - On/Off.

Once the option is set to On, the individual mailbox user would be able to upgrade and downgrade its mailbox plan type via Webmail (as shown in the the steps below).
Upgrade mailbox plan via Webmail as individual email user:
1. Log in to the desired mailbox by following the steps shown in the following article.
2. Navigate to the Portal, click on Add widget and then on the Account Management widget.
3. A new box will populate called Account Management. From there, you can select the plan type you would like to change your mailbox to.
4. Upon clicking on the desired plan, a confirmation message would appear in the middle of the screen, click on Continue.
5. Once the change is successful, a confirmation of the update would appear at the top of the screen. 