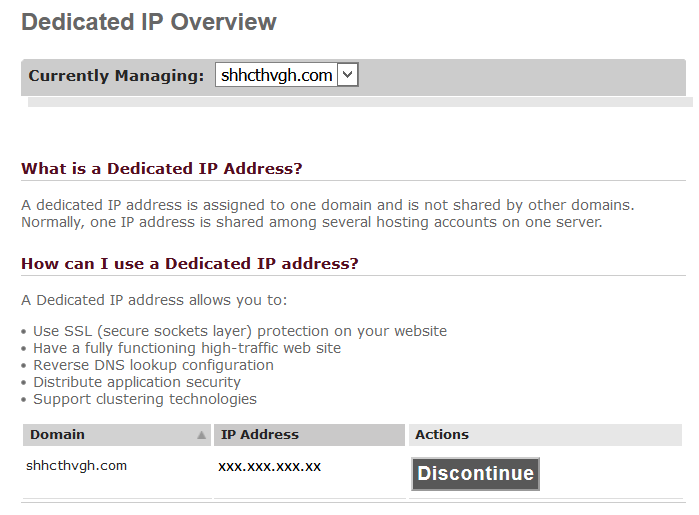
A dedicated IP is a unique Internet address dedicated exclusively to a single website.
Normally the websites that reside on the same server share the IP address assigned to that server.
But there are specific situations where website owners are required to have dedicated IP address.
One of these situations is when they are running an Ecommerce website. Ecommerce websites are required to have an SSL (Secure Sockets Layer) certificate, which is a piece of software application that guarantees secured connection between the visitor and the website. The SSL certificate, on its own, requires a dedicated IP to be assigned to the website, before you can install it.
To purchase a Dedicated IP address for your website, follow these steps:
1. Log into SiteControl with your username and password (click for instructions)
2. Click on Website under the Manage Services section.

3. Scroll down, find and click the Dedicated IP link. You can also click Dedicated IP in the left navigation panel in SiteControl
4. Select the proper domain name from the Currently Managing drop-down menu.
5. Click the Activate button to assign a dedicated IP to that domain.
6. You will see a confirmation page. Click the Back to Overview link at the bottom right corner to go to the Dedicated IP Overview page.
7. On the Dedicated IP Overview page, you can see the IP address that was assigned to the website.

Note: Please note that if you are using third party name servers, you will need to update the A DNS record(s) of your website with the new dedicated IP.